Shower Restoration Services
Shower Silicone Replacement Adelaide
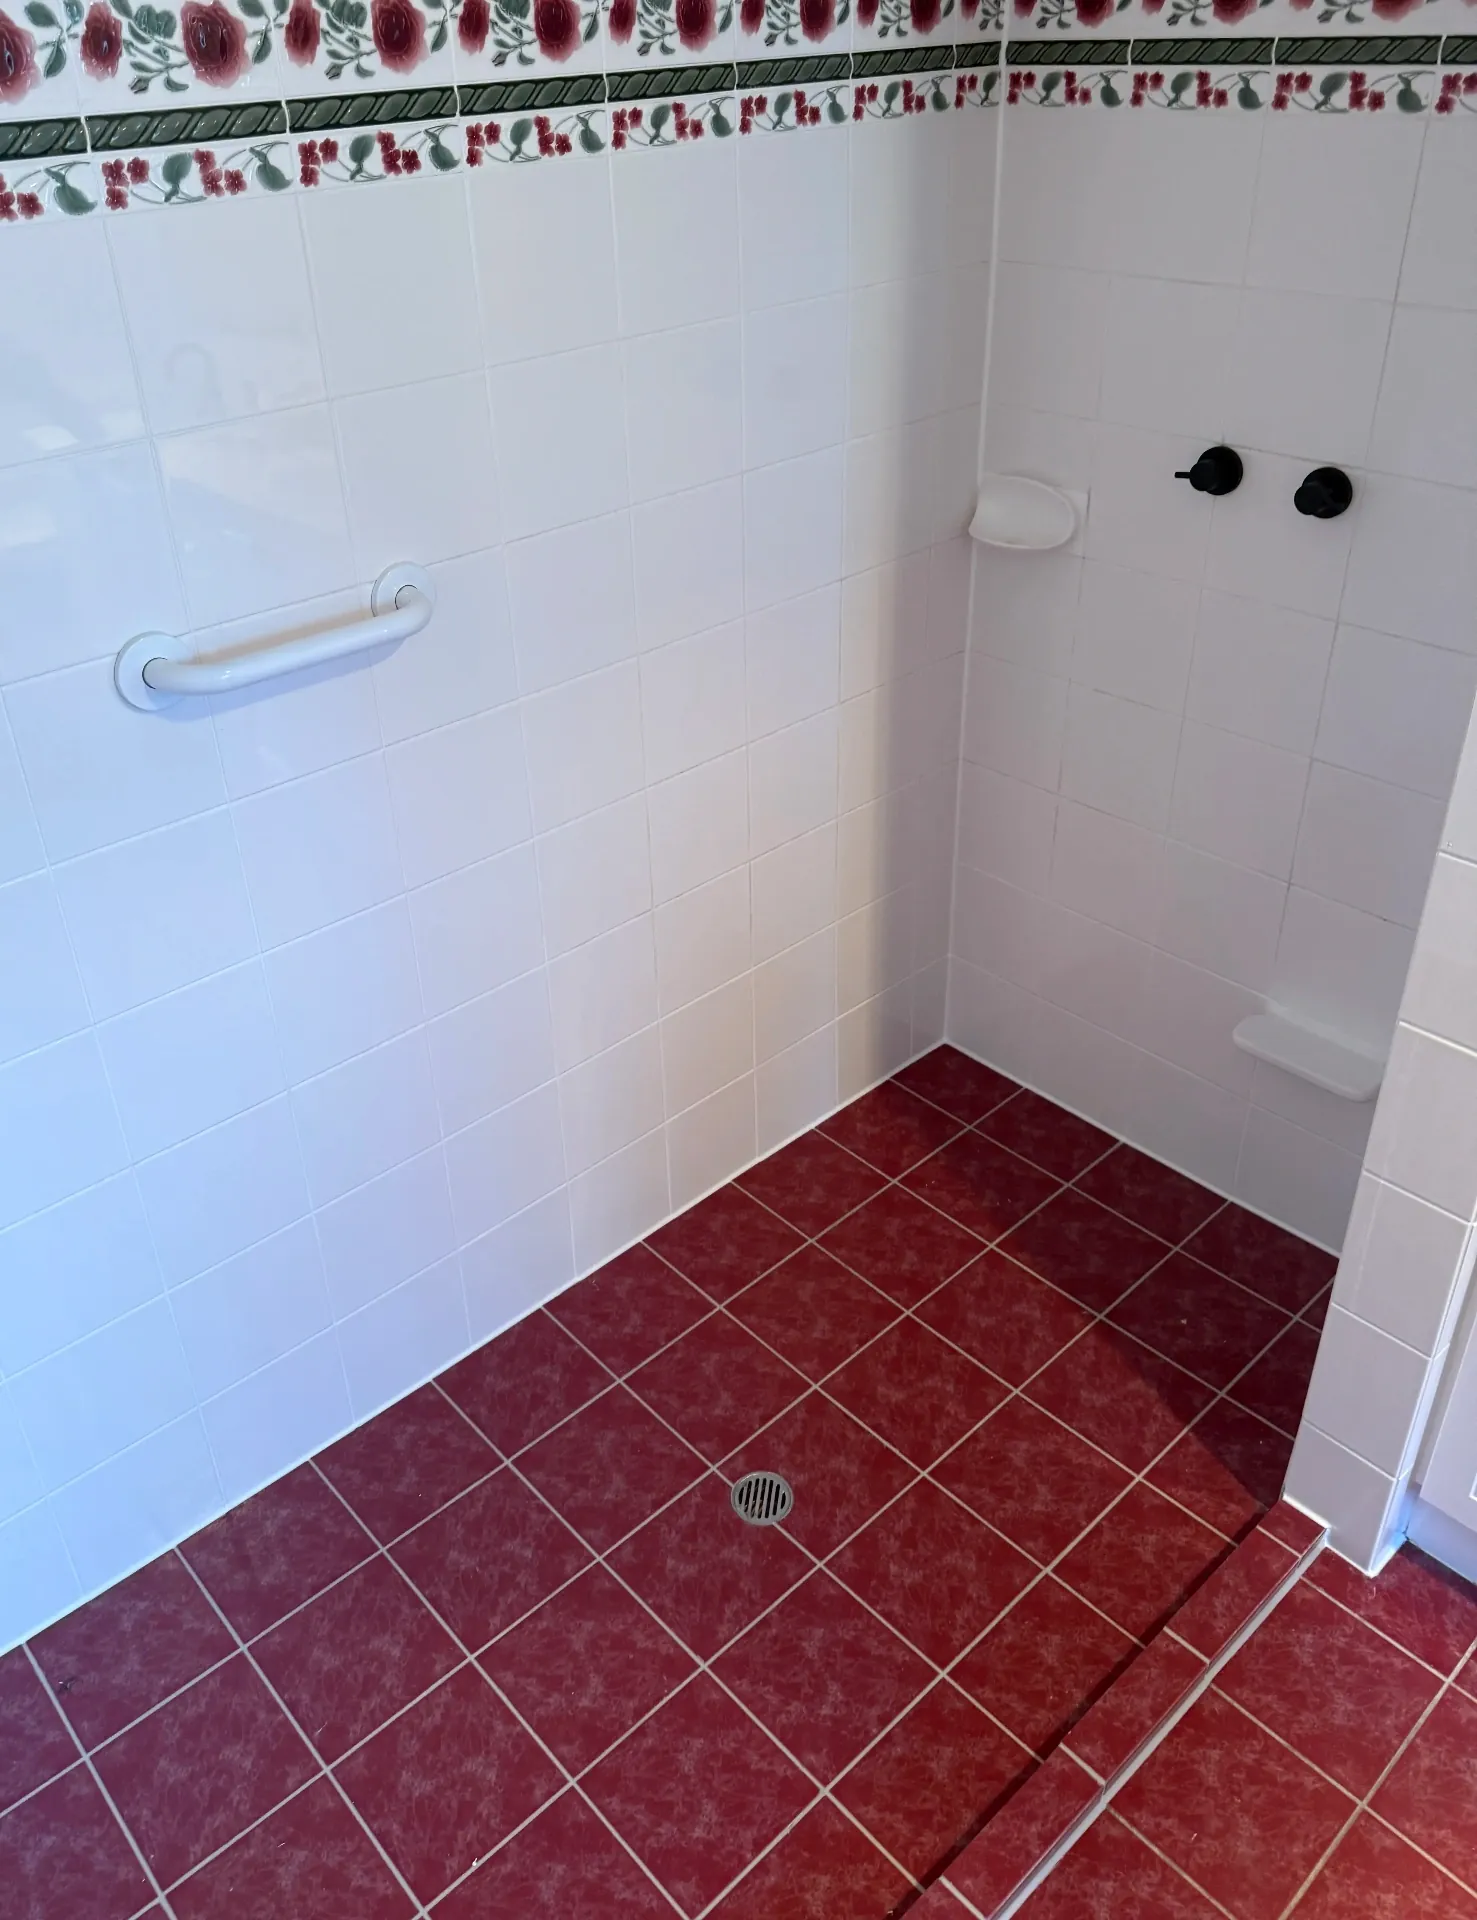
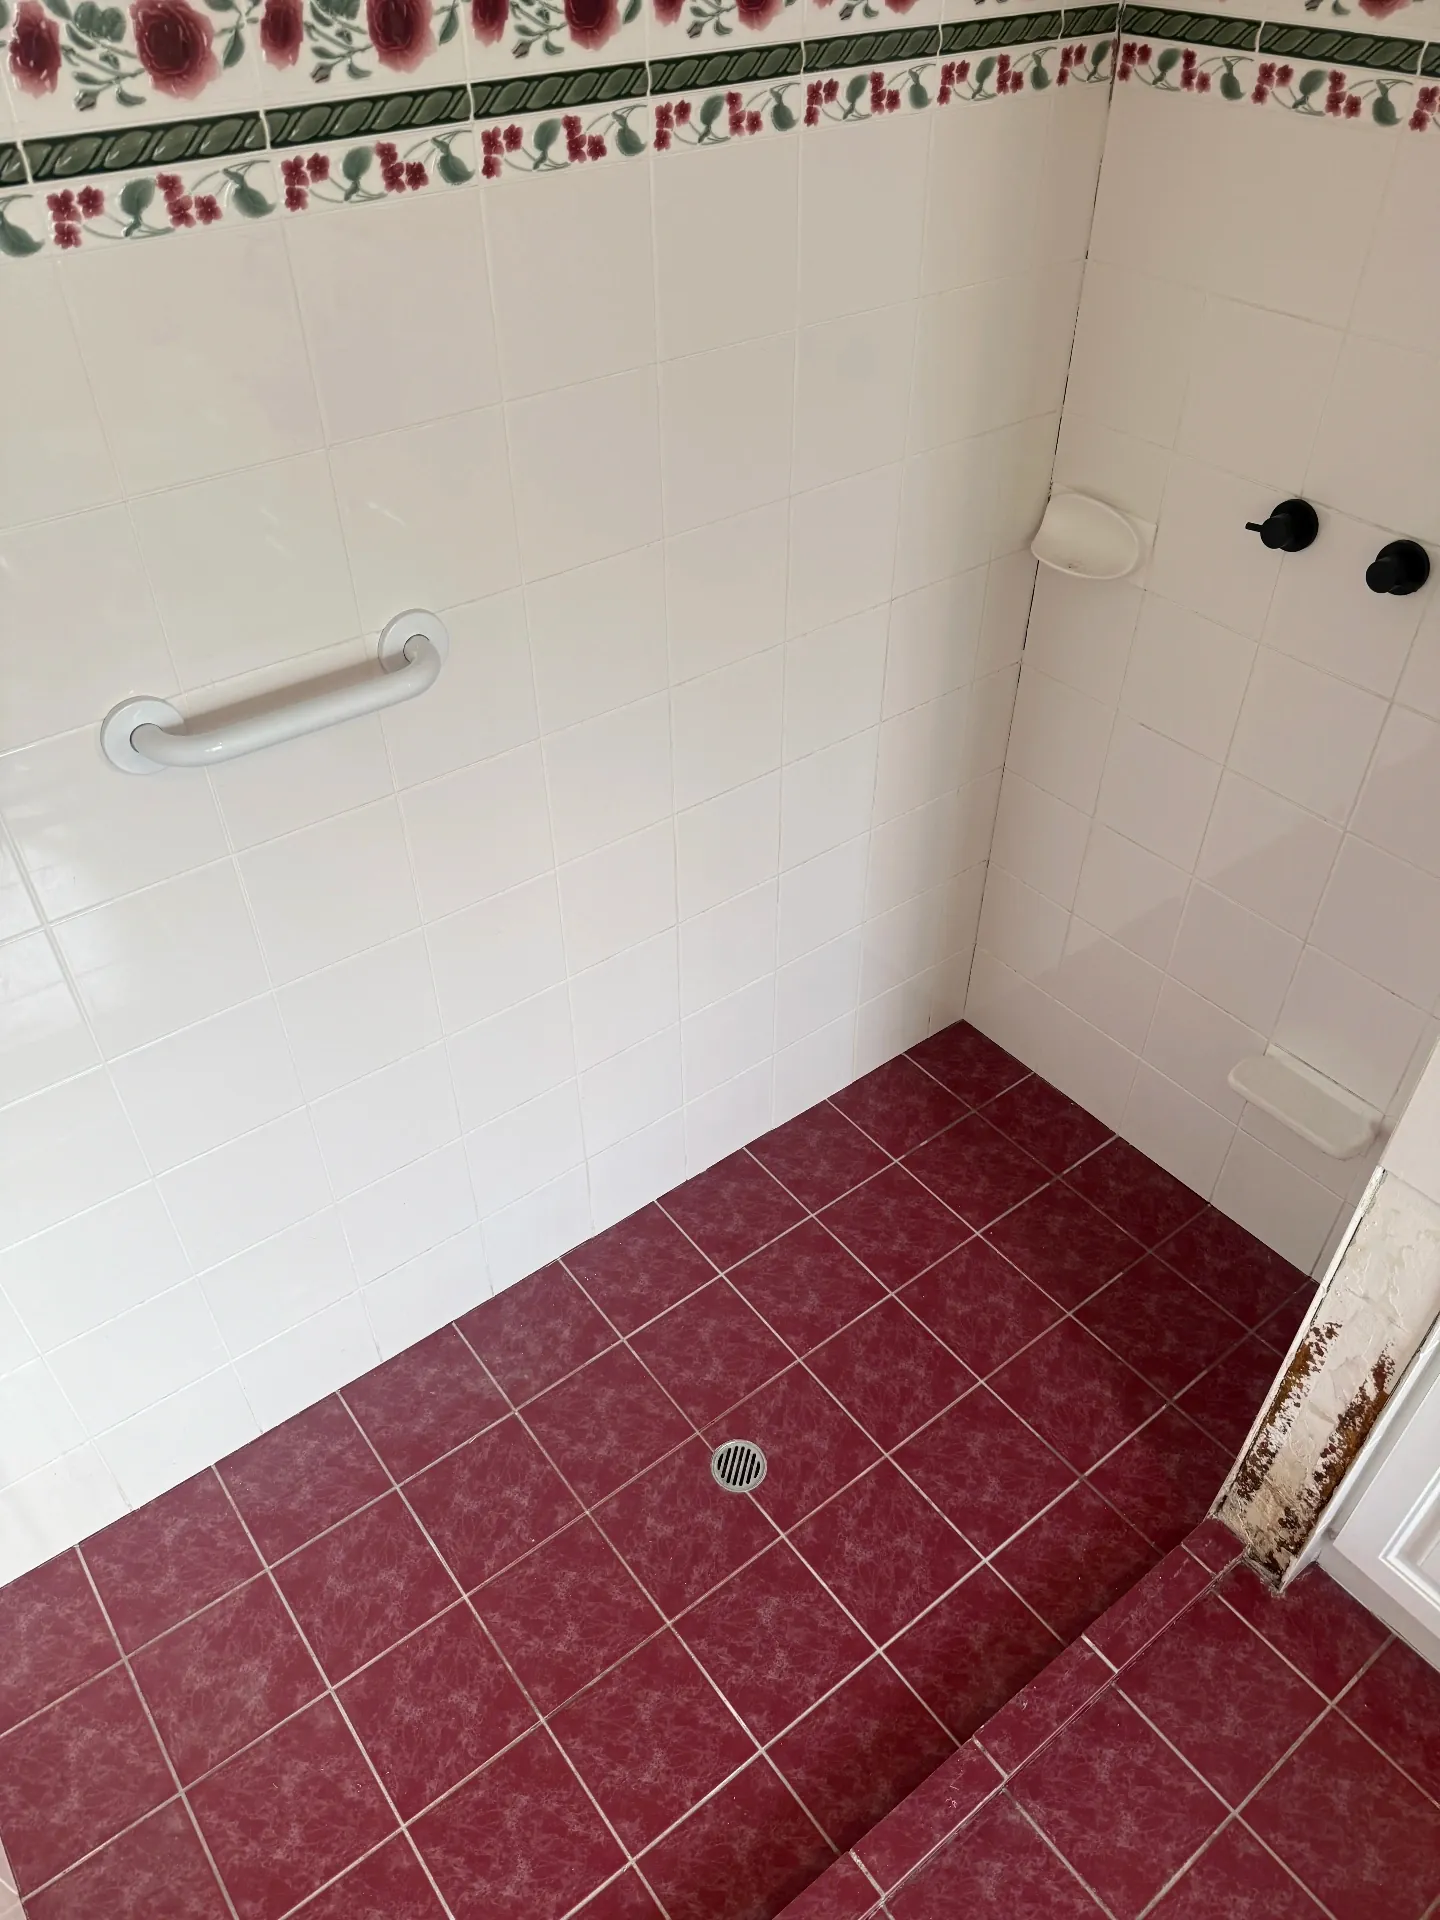
Split, peeling or mould-affected silicone can leave shower joints untidy and create gaps where the seal has failed. STEGZ removes the deteriorated silicone, prepares the adjoining surfaces and applies fresh sanitary silicone with clean, carefully hand-finished lines.
Flexible shower seals
Why Showers Use Silicone
Grout is used between many tiles, while flexible sanitary silicone is commonly used at selected junctions where different surfaces meet or movement may occur.
These may include the shower base perimeter, screen edges, corners and junctions between tiled and adjoining surfaces, depending on how the shower is constructed.
Silicone remains flexible after curing, but exposure to moisture, cleaning products, movement and age can eventually cause it to discolour, split or lose adhesion.
Appropriate joints only
Not every visible shower joint should be filled with silicone. STEGZ assesses the existing construction and replaces silicone only in the appropriate agreed areas.
Signs of failure
When Shower Silicone Needs Replacing
Surface marks can sometimes be cleaned, but silicone that has physically split, detached, become brittle or developed deep contamination cannot be restored simply by wiping it down.
Once the seal has lost adhesion or material integrity, the failed silicone generally needs to be removed before a clean replacement can be applied.
Staining alone does not always mean replacement is required. STEGZ considers the condition, adhesion and integrity of the existing silicone before recommending the appropriate work.
Silicone pulling away from tiles or shower screens.
Visible splits or gaps through the seal.
Loose, brittle or misshapen silicone.
Missing sections around the shower perimeter.
Persistent dark staining within the material.
Mould returning quickly after surface cleaning.
Silicone that has been repeatedly patched.
Rough, uneven or poorly finished previous applications.
Water appearing near a visibly failed silicone joint.
Proper preparation
Fresh Silicone Should Not Hide Failed Material
Applying new silicone over loose, contaminated or deteriorated material can leave an uneven surface beneath the new seal and reduce the quality of the bond.
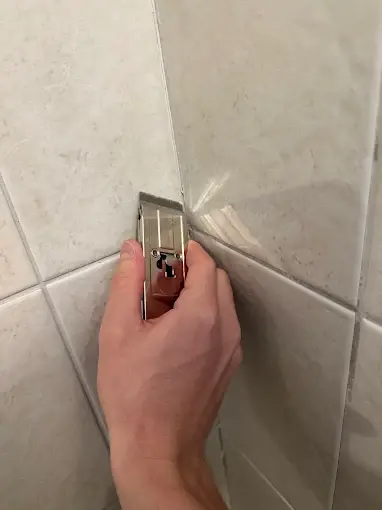
STEGZ removes the failed silicone within the agreed scope so the exposed joint and adjoining surfaces can be cleaned, sanitised and prepared before fresh material is applied.
This preparation helps create a cleaner finished line and gives the new silicone an appropriate surface to adhere to.
Our process
How STEGZ Replaces Shower Silicone
Inspect the existing silicone and surrounding shower joints.
Confirm which deteriorated silicone joints are included in the agreed scope.
Carefully cut out and remove the failed material.
Clean, sanitise and prepare the exposed joint surfaces.
Apply suitable fresh sanitary silicone to the required locations.
Tool and finish the joints by hand before providing job-specific curing instructions.
Hand-finished detail
Precision Silicone Application
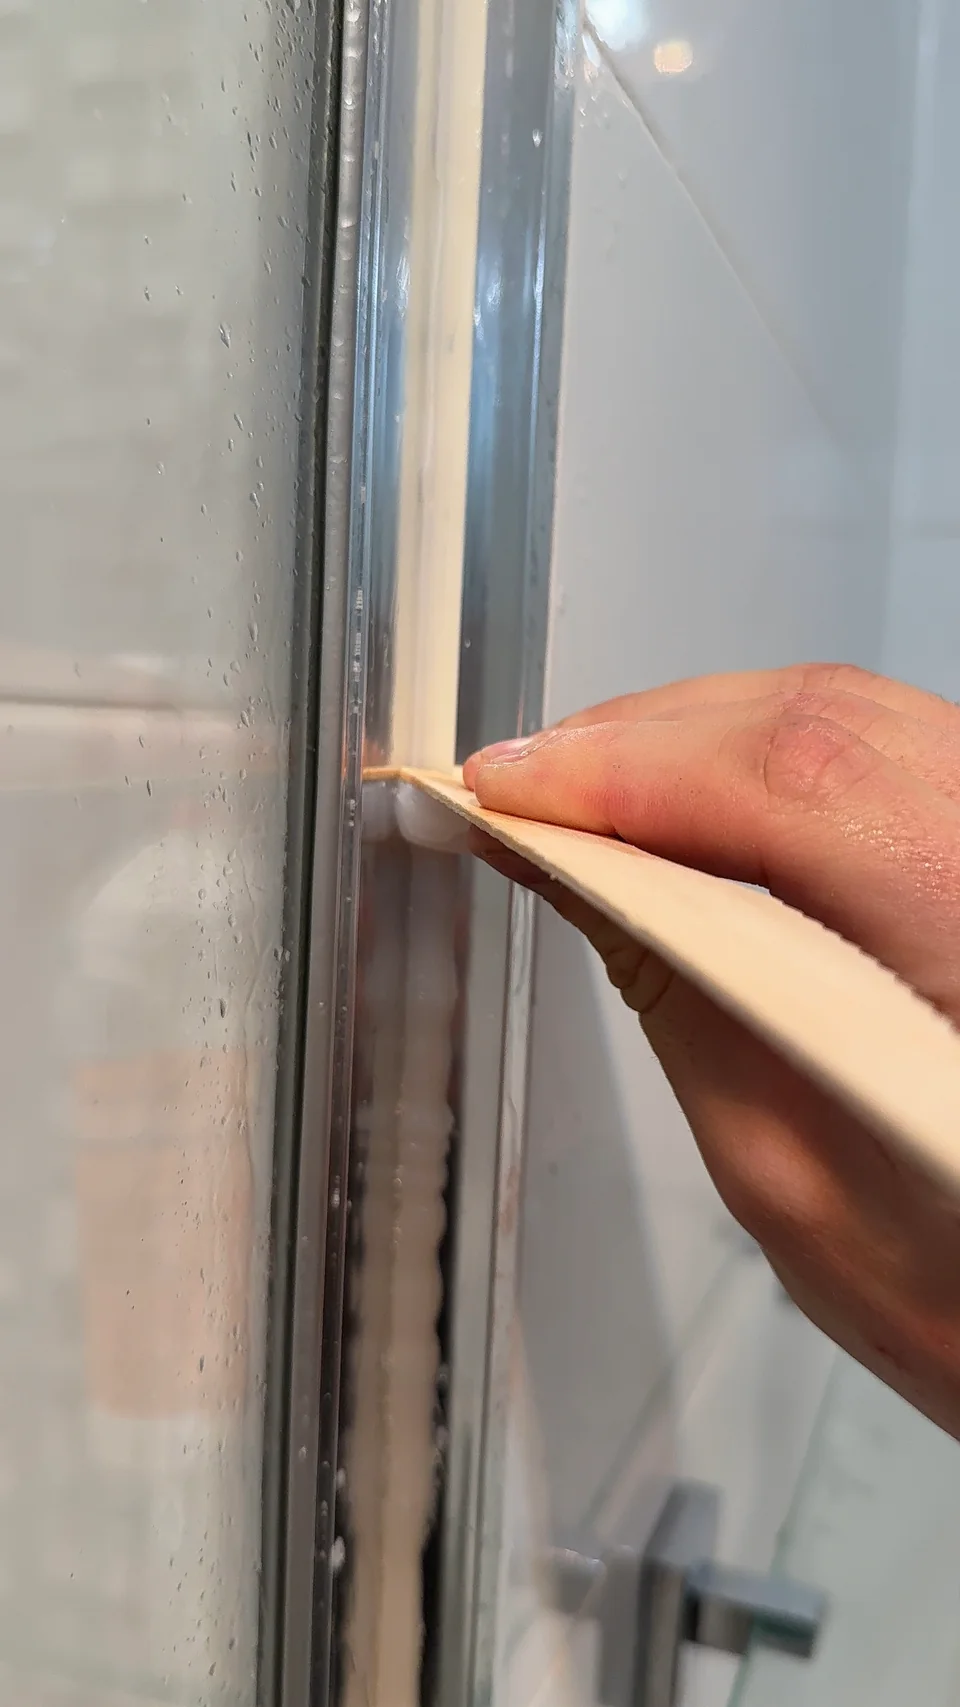
Every silicone joint is carefully prepared and finished by hand to create a clean sanitary seal. Careful application and tooling produce sharp, consistent lines that improve the finished appearance and help keep water within the intended wet area at the treated joints.
The final joint profile, width and finish depend on the surfaces being sealed and the existing shower construction. STEGZ works with the existing area rather than applying one identical finish to every shower.
Choosing the right service
Does the Silicone Need Replacing, or Does the Shower Need More?
Current service
Silicone Replacement
Best suited when the deterioration is localised to identifiable silicone joints and the surrounding grout and tiles remain generally serviceable.
Related service
Shower Resealing
Best suited when several perimeter, corner or screen seals are failing and the complete sealing scope should be assessed together.
Related service
Shower Regrouting
Best suited when the primary deterioration is cracked, missing, powdering or heavily stained grout between tiles.
Related service
Shower Base Restoration
Best suited when the shower floor grout, lower wall joints and perimeter silicone have deteriorated together.
Recent projects
Shower Silicone Replacement Results
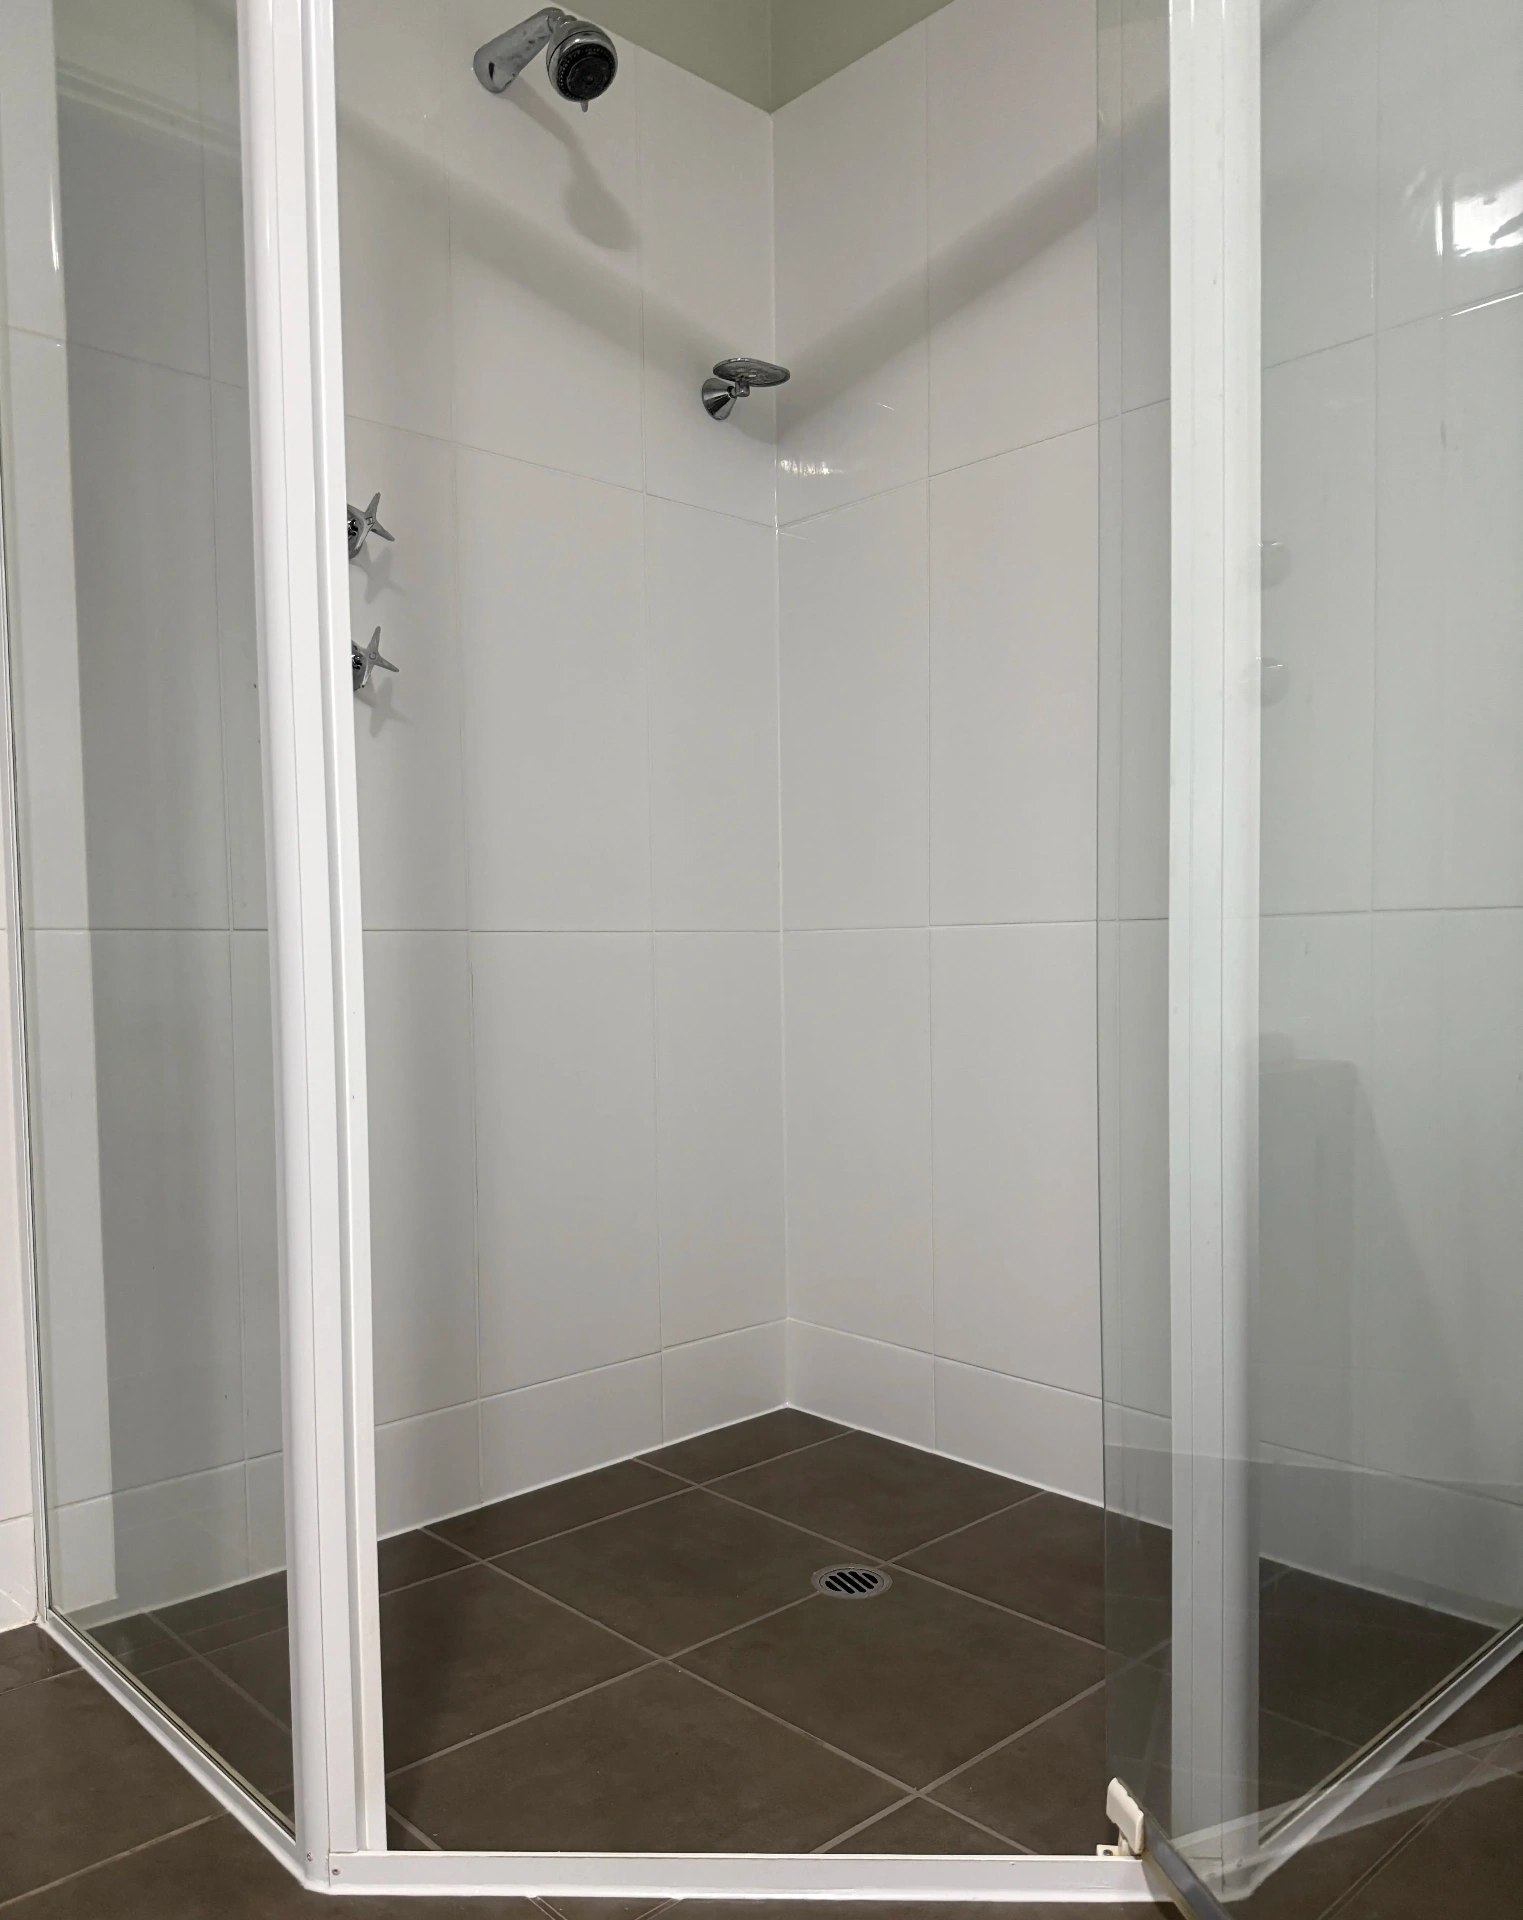
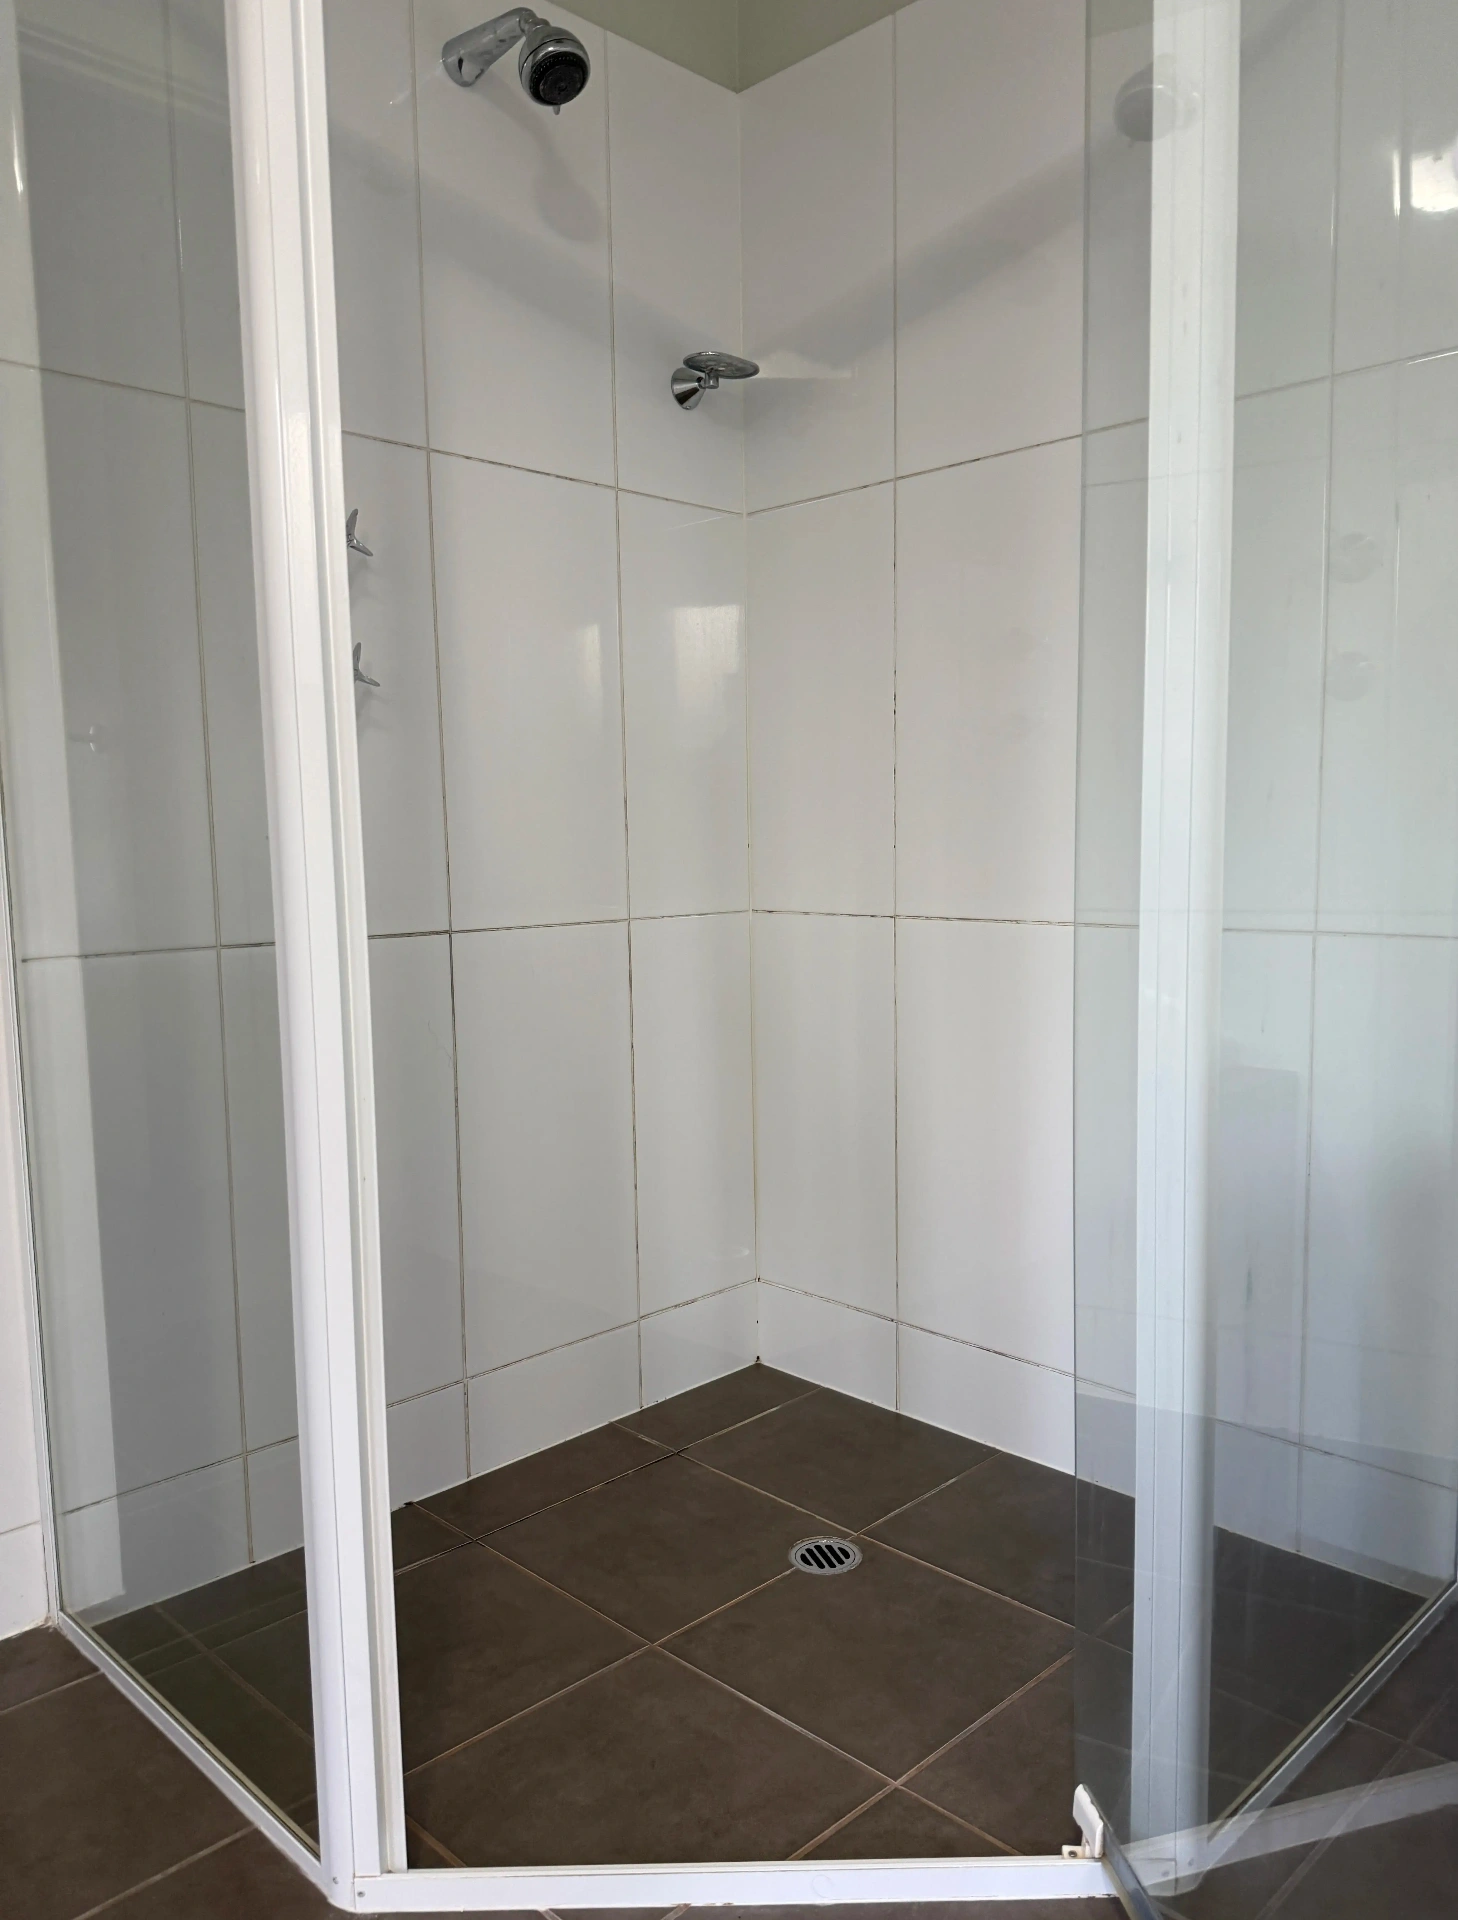
Silicone Replacement Finish - Kingston Park
Worn silicone was removed and replaced with fresh hand-finished sanitary silicone for cleaner protected edges.
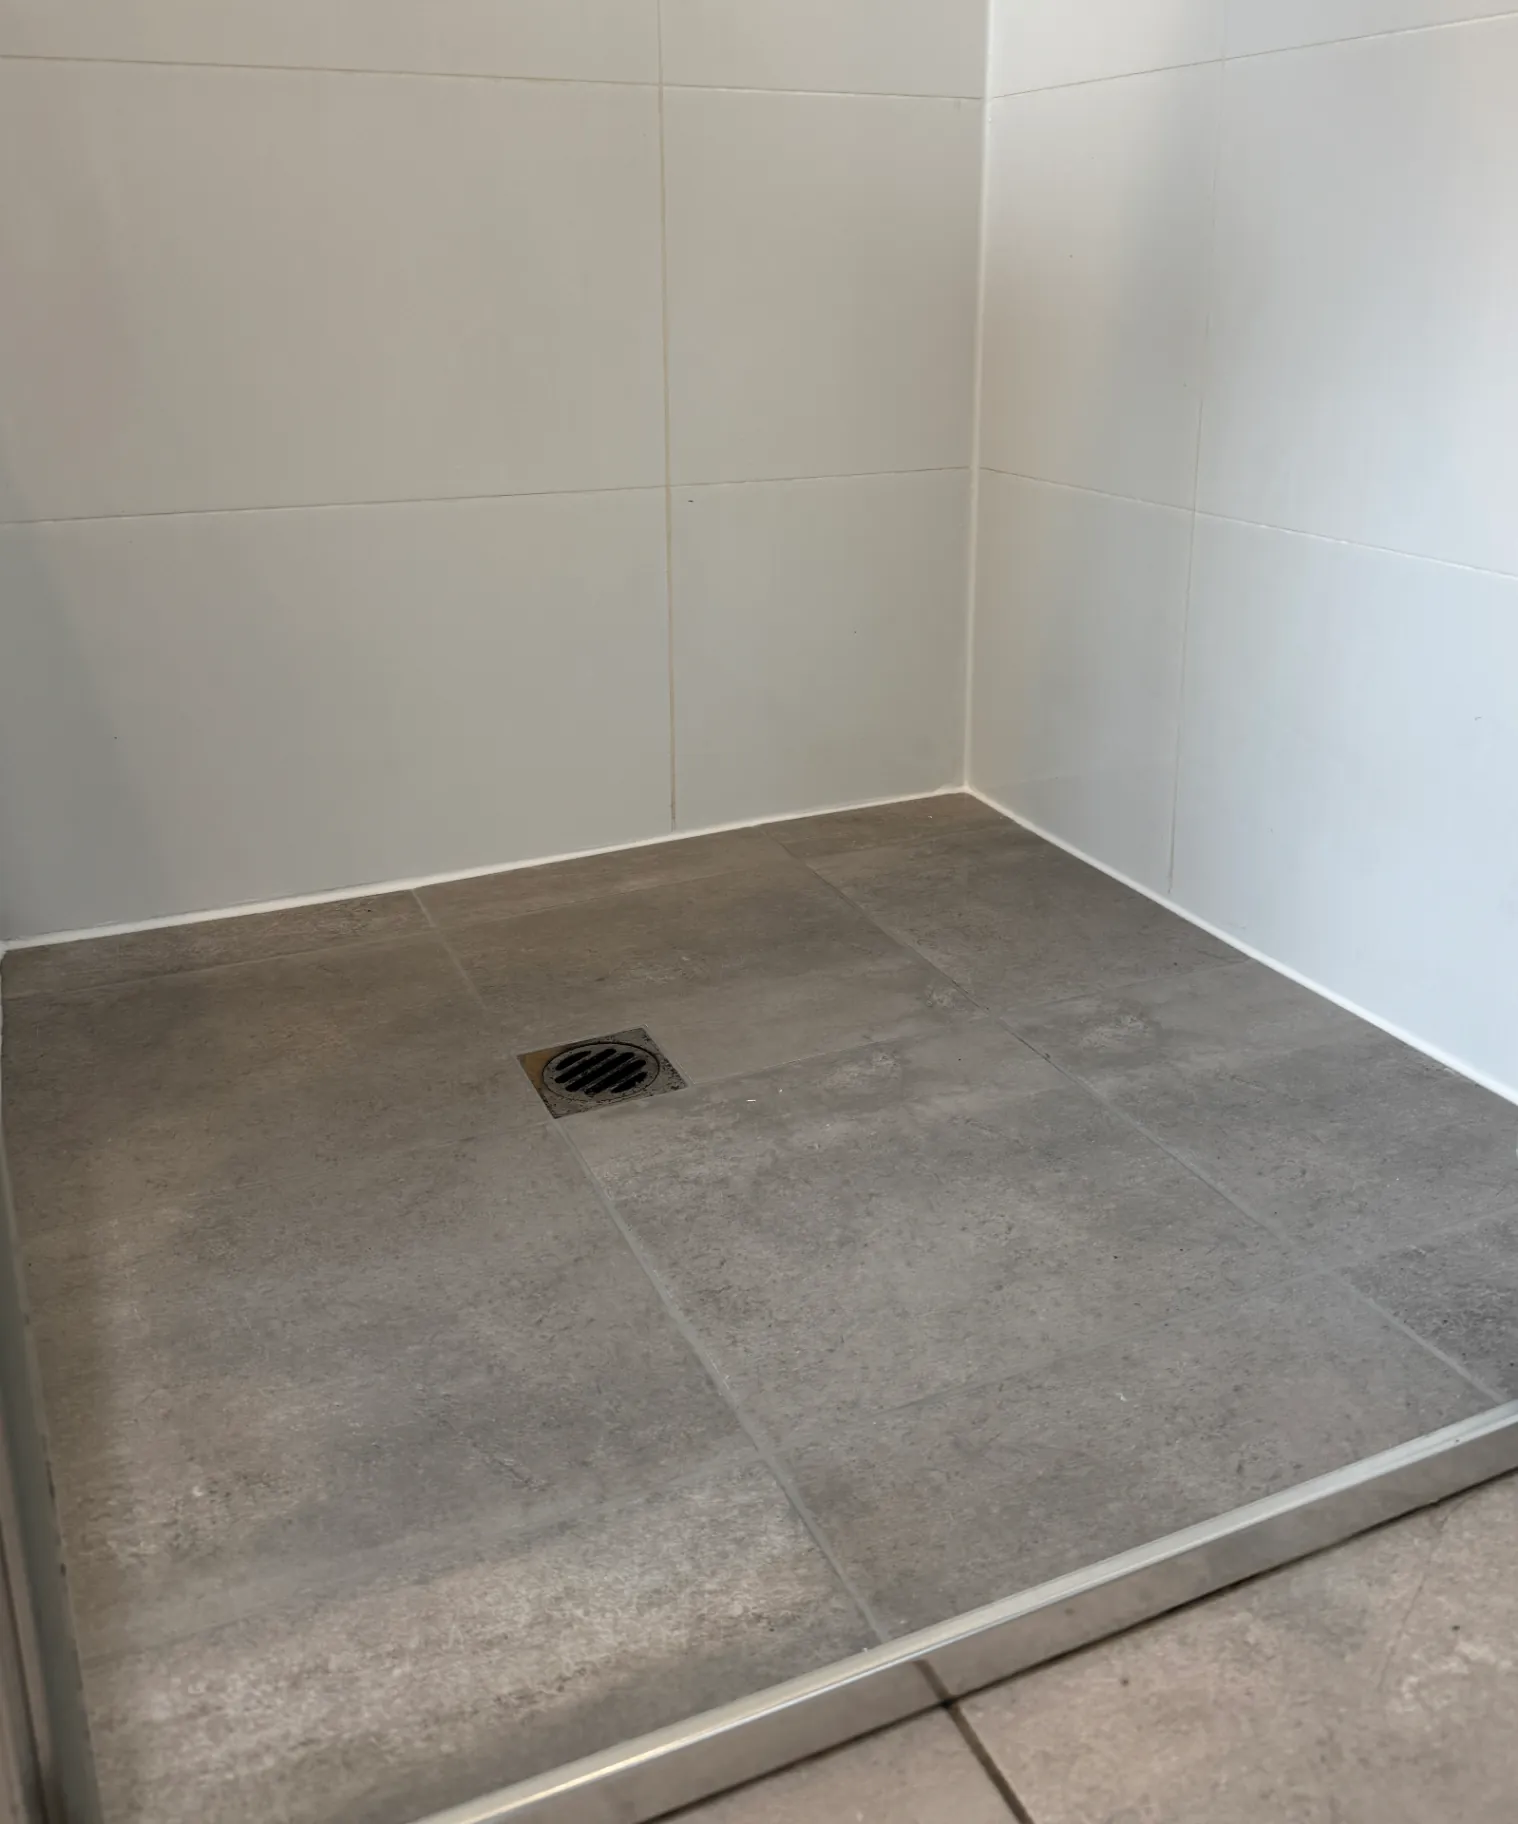
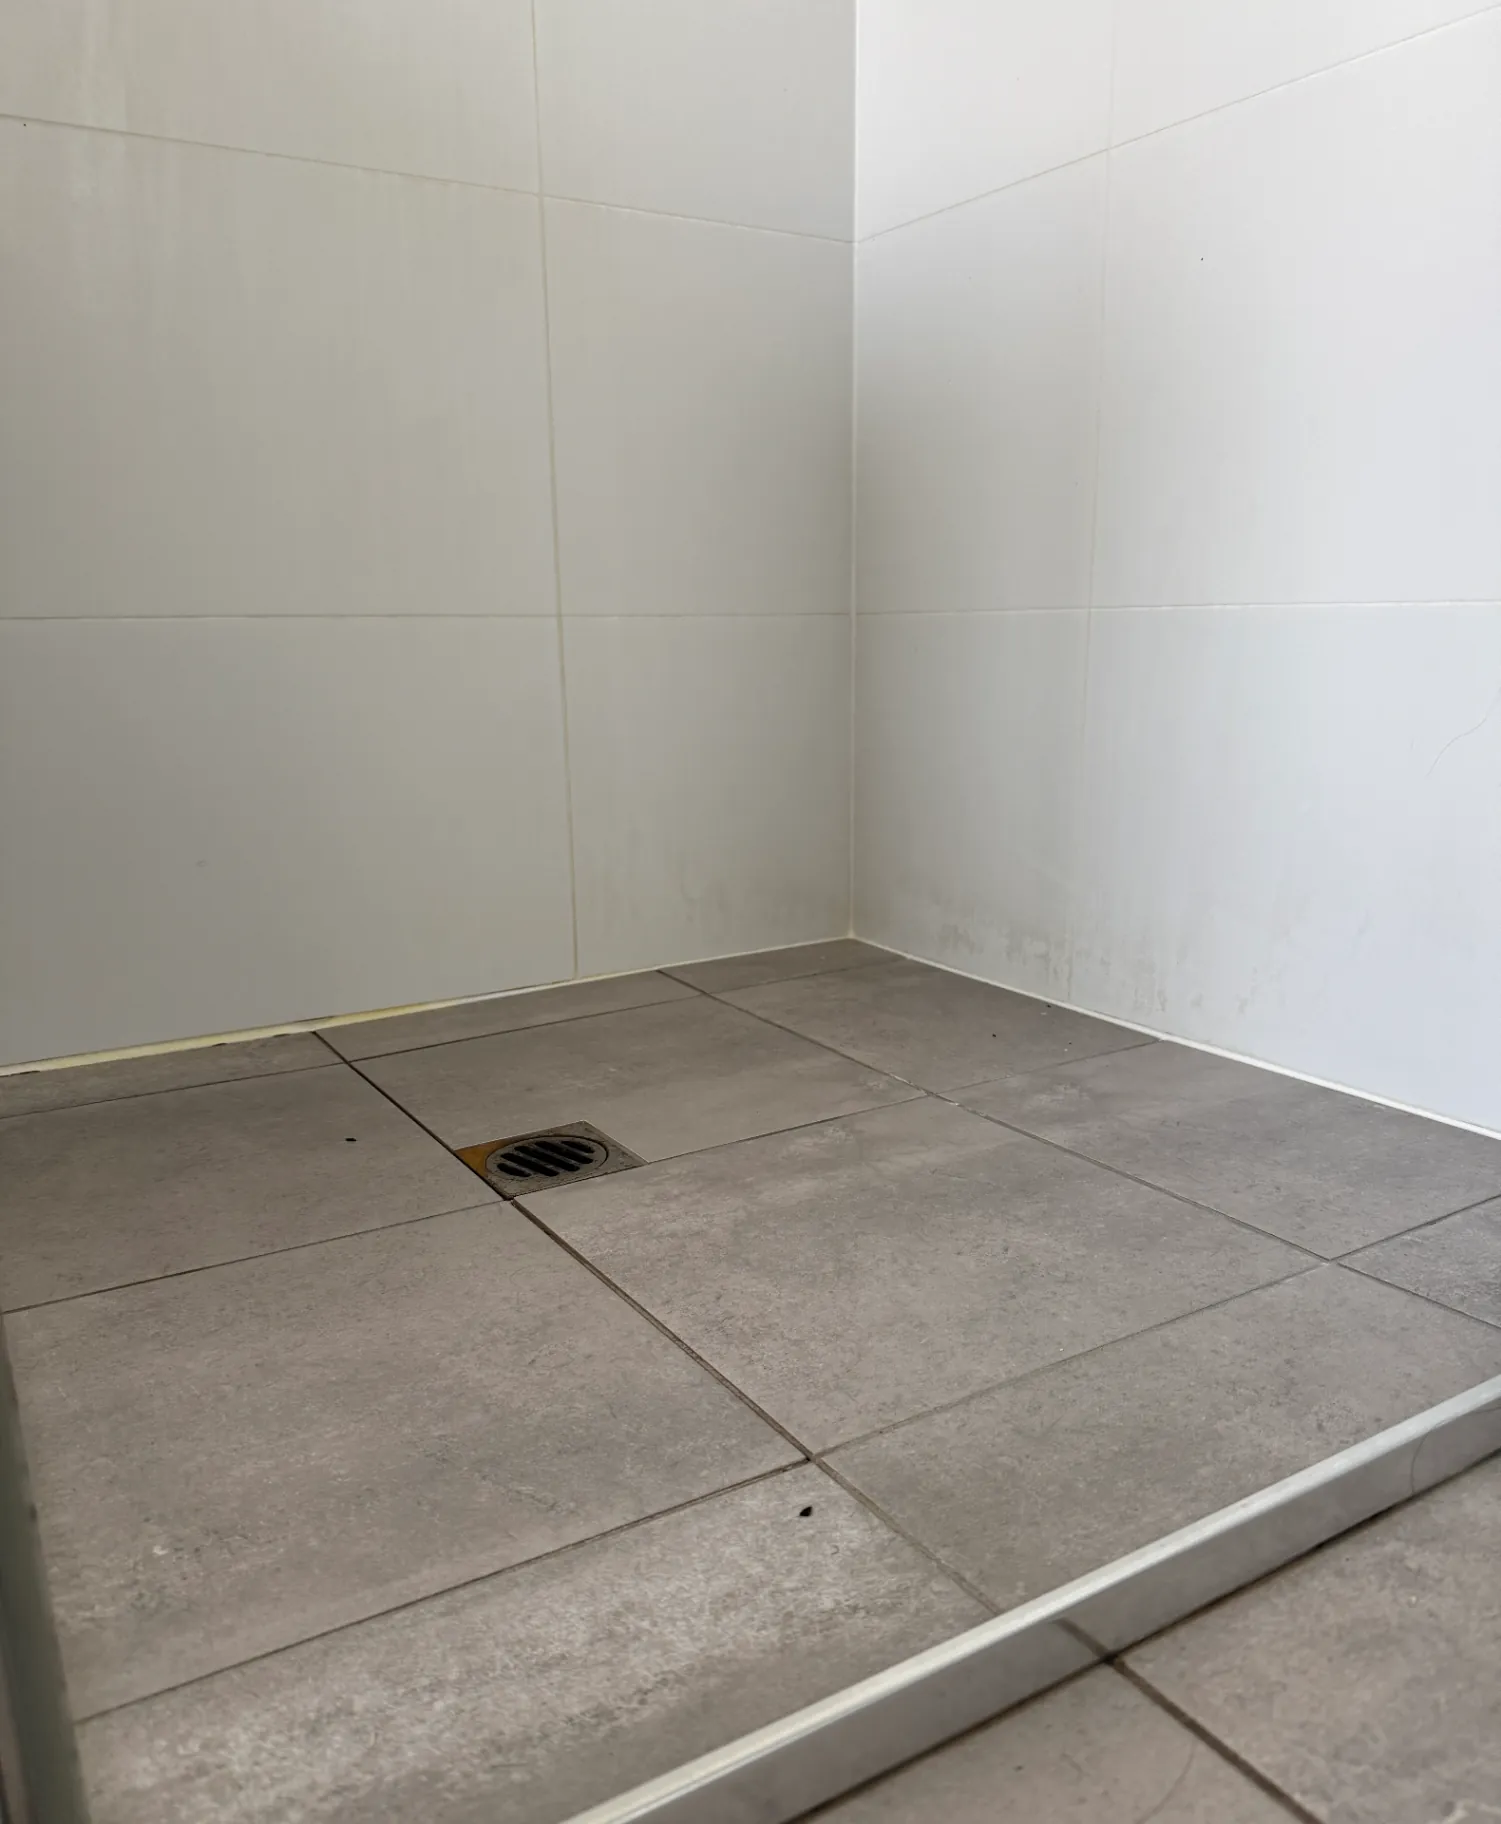
Fresh Shower Silicone Seal - Woodville
Failing silicone and build-up around the shower base were renewed with a cleaner silicone finish.
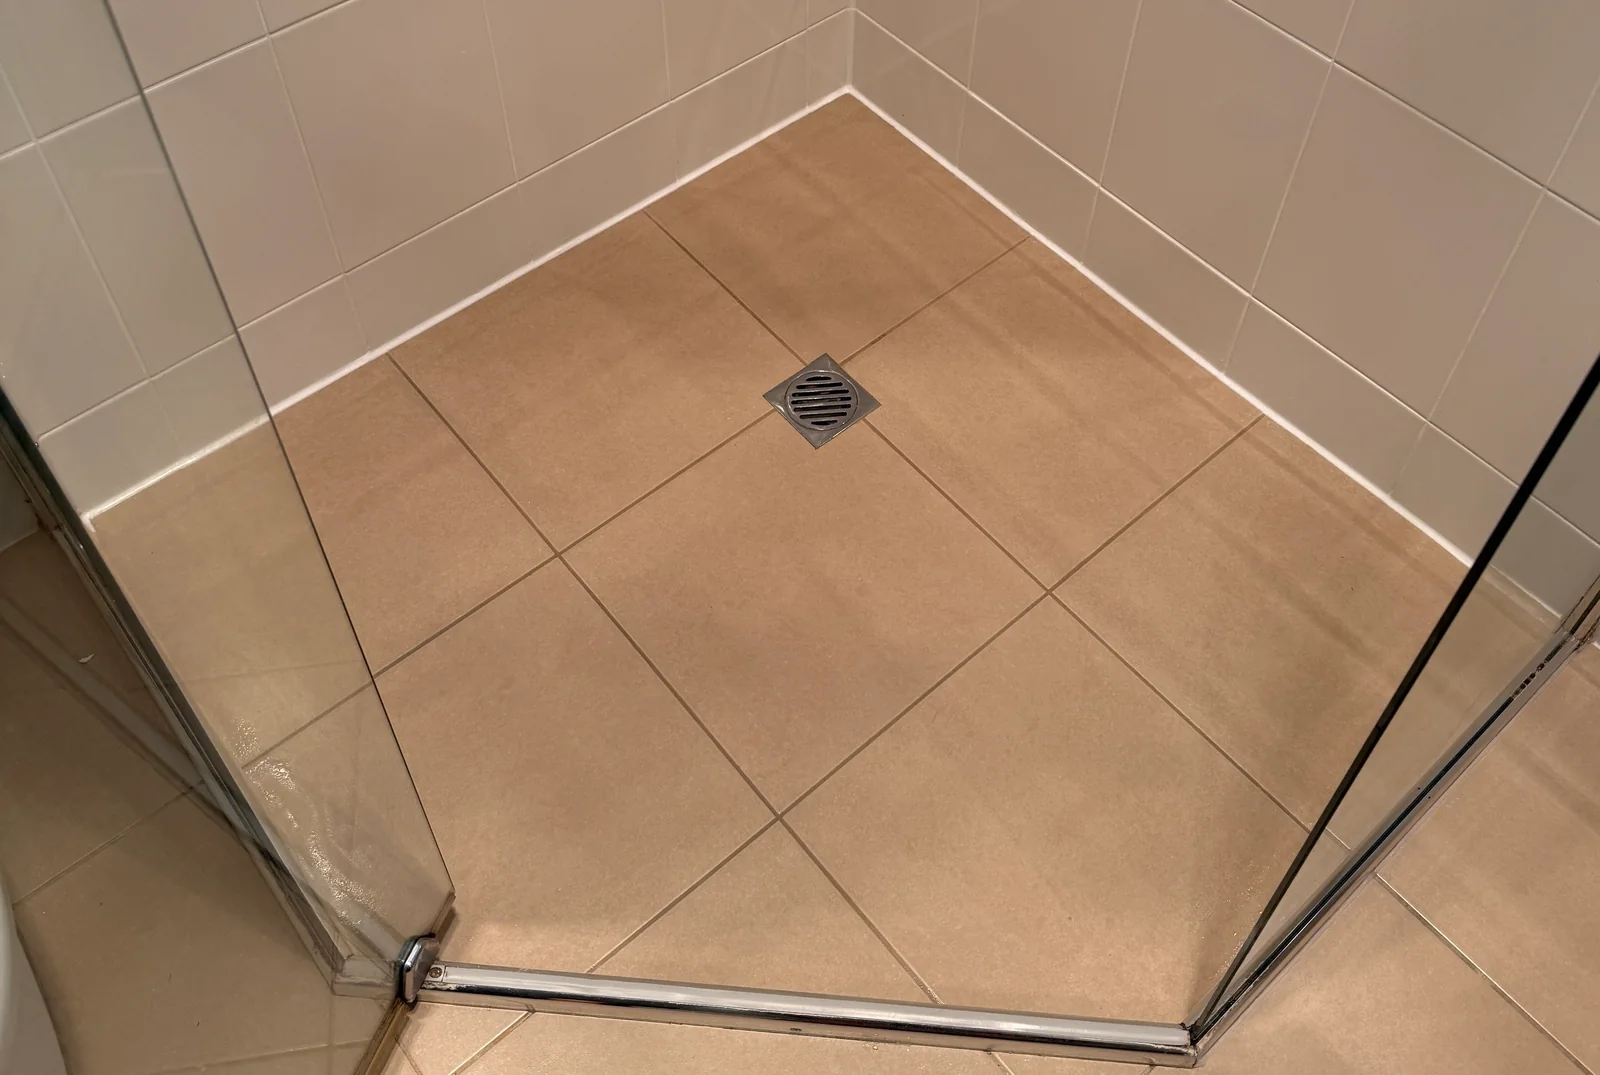
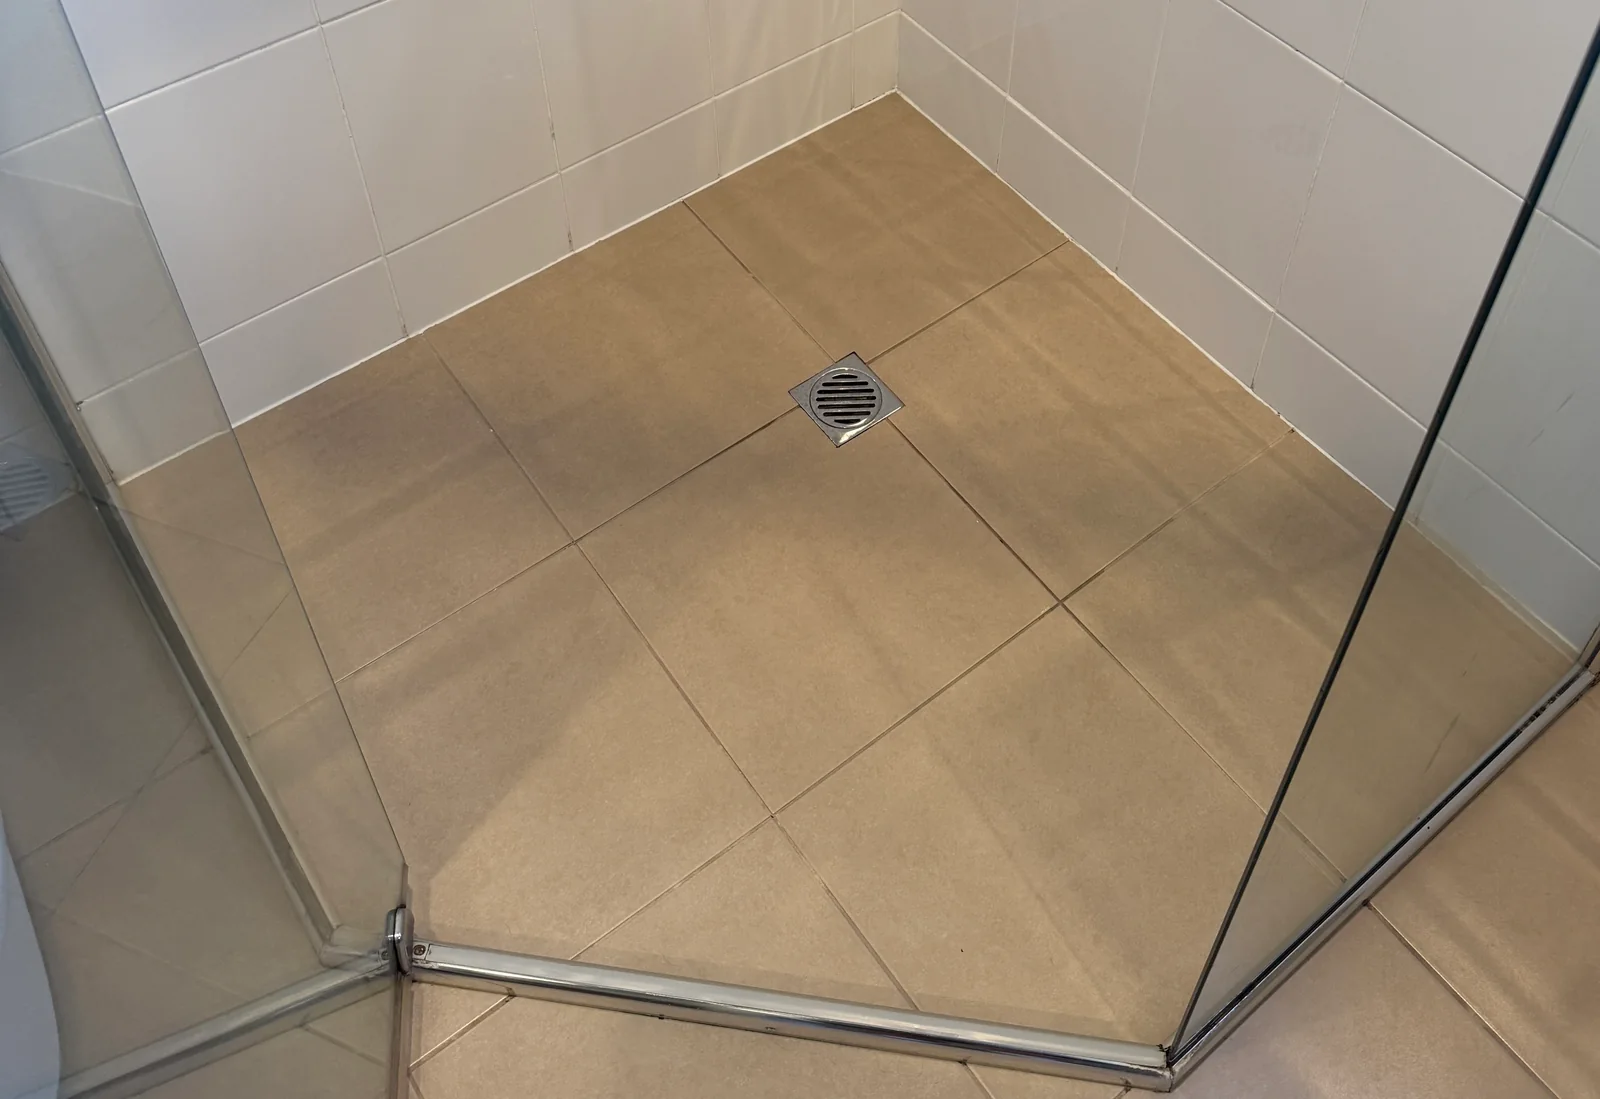
Clean Silicone Perimeter - Brighton
Fresh silicone improved the visible shower finish while helping restore the treated perimeter seal.
Aftercare
Looking After the New Silicone
- Follow the curing instructions supplied after the work.
- Avoid using the shower until the advised curing period has passed.
- Keep the bathroom adequately ventilated.
- Clean the treated joints regularly with suitable non-abrasive products.
- Avoid cutting or scraping silicone with sharp cleaning tools.
- Address recurring movement, loose tiles or continuing water escape if these appear.
- Avoid repeatedly patching small sections without assessing why the material is failing.
No silicone joint is maintenance-free. Regular cleaning, ventilation and attention to developing gaps can help keep the shower easier to maintain.
Targeted restoration
Renew the Failed Seal Without Replacing the Shower
Split, detached or mould-affected silicone does not automatically mean an otherwise serviceable shower needs to be demolished.
Where the surrounding tiles, grout and underlying area remain suitable, targeted silicone replacement can renew the failed joints and improve the appearance without unnecessary tile removal.
Where deterioration extends into the grout, shower base, waterproofing, substrate or plumbing, a broader restoration or specialist repair may be required.
Service area
Shower Silicone Replacement Across Adelaide
STEGZ replaces failed shower silicone across Adelaide’s western, eastern, inner and south-west suburbs.
Not sure whether we cover your area? Send through your suburb and a few clear shower photos and we’ll let you know.
Recent project locations include
Brighton, Clapham, Flagstaff Hill, Kingston Park, Mitcham, Seacliff, West Beach, Willunga and Woodville, along with surrounding suburbs across our service area.
Frequently asked questions
Shower Silicone Replacement FAQs
Can new silicone be applied over old shower silicone?
Failed silicone should generally be removed so the joint and adjoining surfaces can be appropriately cleaned and prepared. Covering loose or contaminated material can produce an uneven result and reduce adhesion.
Can mouldy shower silicone be cleaned instead of replaced?
Surface growth may sometimes be cleaned, but deep discolouration, physical deterioration or loss of adhesion may require replacement.
Why does shower silicone split or pull away?
Moisture, cleaning products, movement, age and poor previous preparation can all contribute to silicone shrinking, splitting or losing adhesion.
What is sanitary silicone?
Sanitary silicone is a flexible sealant intended for wet areas. The suitable product and finish depend on the surfaces, joint condition and agreed scope.
Is shower caulking the same as silicone replacement?
Some homeowners use shower caulking to describe replacing flexible silicone seals. STEGZ generally uses the term silicone replacement.
Can silicone be replaced around shower screens?
Yes. Silicone around shower screen edges can be assessed and replaced where the existing construction and condition make that appropriate.
Does damaged grout need to be repaired at the same time?
If grout is cracked, missing or deteriorating, STEGZ may recommend regrouting or a broader restoration rather than treating silicone alone.
Will replacing silicone stop water escaping from the shower?
Replacing silicone may help where a failed silicone joint is the source. It will not repair failed waterproofing membranes, plumbing faults, structural movement or unrelated screen issues.
When can the shower be used after silicone replacement?
The waiting period depends on the materials, joint conditions and scope. STEGZ provides job-specific instructions after the work.
Can STEGZ assess the silicone from photos?
Yes. Clear photos of the affected silicone, nearby grout, shower perimeter and screen edges can help STEGZ advise whether silicone replacement or broader resealing may be appropriate.
Related services
Other Shower Restoration Services
Shower Regrouting
For cracked, missing or heavily stained grout between shower tiles.
Shower Resealing
For several failed perimeter, corner or screen seals that need to be assessed and renewed together.
Shower Base Restoration
For combined deterioration across the floor grout, lower wall joints and perimeter seals.
Services Overview
Compare the shower restoration services STEGZ offers.
Gallery
Browse before-and-after shower restoration projects.
Contact
Send photos and ask what may be appropriate for your shower.
Photo enquiry
Is Your Shower Silicone Splitting or Pulling Away?
Send STEGZ clear photos showing the affected silicone, nearby grout, shower perimeter and screen edges. We can review what is visible and help determine whether targeted silicone replacement or a broader resealing service may be appropriate.